Contents
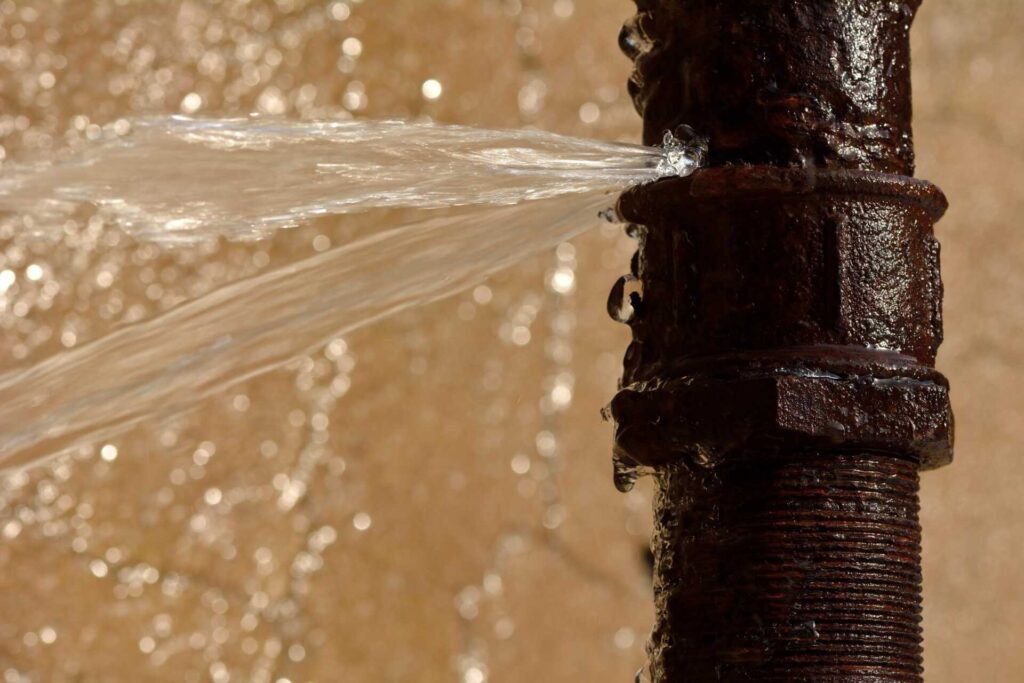
When a burst pipe strikes, it’s like a sudden storm in your home. You need to act swiftly to mitigate damage and restore order. First, you’ll shut off the main water supply, but that’s just the beginning. Evaluating the damage and removing standing water are critical next steps. The clock is ticking, and every moment counts in preventing further complications. What comes next could change the outcome of your cleanup process greatly.
Key Takeaways
- Identify the source of the burst pipe and shut off the main water supply immediately to prevent further water damage.
- Remove standing water using wet vacuums or submersible pumps, starting from the deepest areas.
- Dry the affected area using fans and dehumidifiers to reduce moisture levels and prevent mold growth.
- Inspect for mold growth in hidden areas and take immediate action if detected, consulting professionals if necessary.
- Document all damage and affected belongings for insurance claims and future reference.
Assessing the Damage
When faced with a burst pipe, evaluating the damage quickly and accurately is essential.
Begin your damage assessment by identifying the source of the leak and the affected areas. Check for visible signs of water intrusion, such as discoloration on walls, ceilings, or flooring. Document these findings to facilitate your severity evaluation.
Next, determine the extent of the damage. Is it limited to surface-level issues, or has it compromised structural integrity? If you notice swelling or mold, take note; these factors indicate more severe damage.
Don’t forget to assess any personal belongings affected by the water.
Prioritize items that are irreplaceable, as these require immediate attention.
Shutting Off the Water Supply
To prevent further water damage, you need to quickly locate your main water valve and turn it off.
Make sure to shut off any appliances connected to the water supply as well.
After that, check for leaks to assess the situation accurately.
Locate the Main Water Valve
Finding the main water valve is vital for quickly shutting off the water supply in the event of a burst pipe.
First, you’ll want to familiarize yourself with your home’s layout. Typically, the valve location is near where the water line enters your home, often in the basement, crawl space, or near an exterior wall.
Look for a round or rectangular valve, which may be made of brass or plastic. Once you locate it, make certain it’s easily accessible.
Regularly checking the valve ensures you’re prepared when emergencies arise. Remember, knowing how to shut off your water supply can prevent extensive damage and save you from costly repairs.
Take a moment now to pinpoint that valve; it’s an important step for everyone.
Turn Off Appliances
Before addressing the burst pipe, you need to turn off any appliances that rely on the water supply. This includes washing machines, dishwashers, and ice makers. By doing this, you prevent further flooding and minimize damage.
Locate the power source for these appliances and switch them off immediately; this is an essential safety precaution.
Once the appliances are off, double-check that the water supply is completely shut down to avoid additional leaks.
Remember, taking these steps protects your home and ensures you’re part of a proactive community that values safety and efficiency.
After you’ve secured your appliances, you’re ready to tackle the cleanup effectively and confidently. Your diligence now will pay off in preventing future issues.
Check for Leaks
Once you’ve turned off your appliances, the next critical step is to check for leaks by shutting off the main water supply. This action is essential for effective leak detection and helps prevent further water damage.
Locate the main shut-off valve, typically found near the water meter or in your basement. Turn it clockwise to stop the flow of water.
After shutting off the supply, conduct a thorough pipe inspection, looking for visible leaks or damp spots. Pay special attention to joints and fittings, as these are common failure points.
If you spot any issues, take immediate action to repair them or call a professional. Prompt leak detection safeguards your home and strengthens your peace of mind.
Removing Standing Water
Act quickly to remove standing water after a burst pipe; every moment counts in preventing further damage.
Start by evaluating the extent of the flooding. Gather your cleanup equipment, including wet vacuums or submersible pumps, which are essential for efficient water extraction. If you have access to commercial-grade tools, they’ll expedite the process considerably.
Begin in the area with the deepest water, and work your way toward the exits. Make sure you wear appropriate protective gear, like boots and gloves, to safeguard against contaminants.
If the water is extensive, consider enlisting help from professionals who specialize in water damage restoration.
After you’ve extracted the majority of the water, check for hidden pockets where moisture might linger. Prompt removal mitigates damage and fosters a safer environment for you and your loved ones.
Drying and Dehumidifying the Area
As you shift from water extraction to drying and dehumidifying the area, it’s important to start promptly to prevent mold growth and structural damage.
Begin by choosing the right drying techniques, such as using fans to increase airflow and circulate air in affected spaces. This helps evaporate moisture quickly.
Next, consider your dehumidifier options. Portable dehumidifiers are effective for smaller spaces, while larger, commercial-grade units may be necessary for extensive damage.
Set them to maintain ideal humidity levels—ideally between 30% and 60%.
Regularly check the moisture levels in the area with a hygrometer, and adjust your equipment settings as needed.
Keep windows and doors closed to maximize efficiency.
Inspecting for Mold Growth
While drying the area is essential, it’s equally important to inspect for mold growth, as it can develop within 24 to 48 hours after water exposure.
Begin by examining all surfaces, especially in hidden spots like under carpets, behind walls, and within cabinets. Look for discoloration, a musty odor, or any visible mold patches. If you spot any, act quickly; mold can pose significant health risks, including respiratory issues and allergic reactions.
For effective mold prevention, maintain low humidity levels and ensure proper ventilation in affected areas.
If you suspect extensive mold growth, consider consulting a professional for removal. Remember, your health and safety are paramount.
By actively inspecting for mold, you’re protecting yourself and creating a healthy environment for everyone around you.
Don’t underestimate the significance of this step in your cleanup process; it’s critical for long-term success and well-being.
Restoring Affected Materials
Once you’ve addressed mold concerns, it’s time to focus on restoring materials affected by the water damage. Effective restoration techniques will help preserve the integrity of your home. Start by evaluating the damage level and prioritizing materials for restoration.
Here’s a quick reference table to guide your restoration efforts:
| Material Type | Restoration Technique | Tips for Preservation |
|---|---|---|
| Drywall | Replace or dry thoroughly | Use moisture-resistant types |
| Wood | Sand, seal, and stain | Apply protective coatings |
| Carpeting | Deep clean or replace | Use water-resistant padding |
Final Thoughts
Acting swiftly after a burst pipe is vital to minimize damage and prevent mold growth. For instance, a homeowner in Chicago faced significant water damage after a pipe burst in winter, but by quickly shutting off the water and using a wet vacuum, they mitigated extensive issues. Remember, always inspect for hidden moisture spots and address mold immediately to ensure your home remains safe and dry. Taking these steps can save you time and money in repairs.
Recent Posts
Fire Damage Restoration Timeline for Homes
A house fire can turn a normal day into a long recovery in minutes. You’ll
What Homeowners Should Do After a House Fire
If a house fire leaves smoke damage through your hallway, you need to act in
5 Ways Soot Damage Can Affect Your Home
Soot damage can do more than leave dark stains on your walls. It can corrode