
Contents
Some homeowners file a property damage claim at some point, and your timeline can move faster than you expect. Right after damage, you’ll need to focus on safety, call the right professionals, and start cleanup quickly. Drying and repairs usually follow in stages, but delays can happen. If you know what each step should look like, you’ll be better prepared for what comes next…
Key Takeaways
- Ensure safety first, document damage, and contact your insurance company and restoration professionals immediately.
- Check for hazards like live wires, gas smells, standing water, broken glass, and unstable floors before entering.
- Restoration teams begin water extraction quickly, then use drying equipment and moisture checks to stop hidden damage.
- Repairs start after cleanup and drying, including drywall, flooring, insulation, and structural components as needed.
- Stay informed with a clear schedule, regular updates, and a checklist of inspections, deliveries, and approvals.
What Happens Right After Property Damage
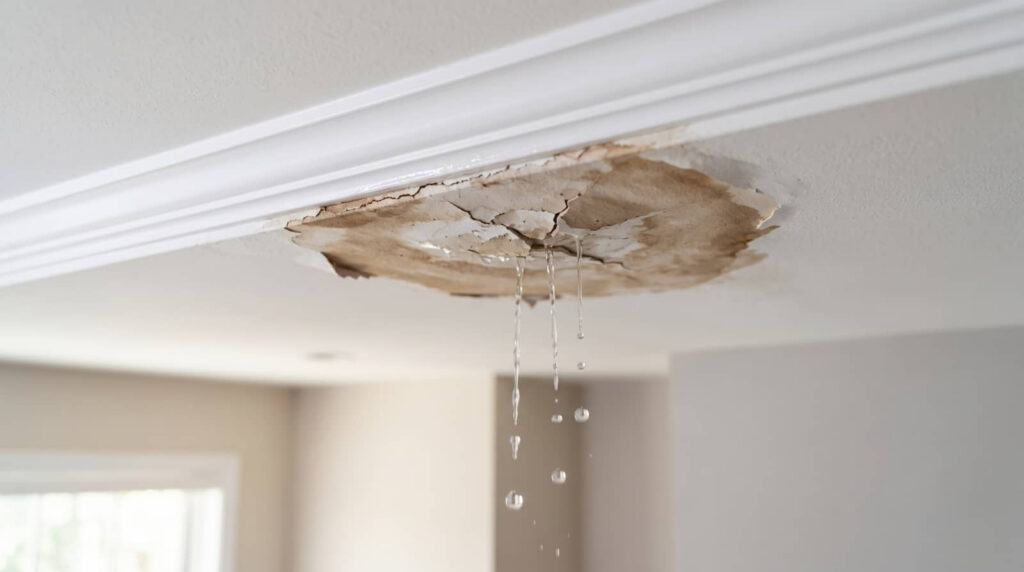
Right after property damage, you should first make sure the area is safe and stop any further damage if you can.
In the property damage restoration timeline for homeowners, this moment is about calming the scene and protecting what’s left. You may notice water, smoke, debris, or structural risks, so keep everyone out of danger and avoid moving anything unstable.
Take a quick look, note obvious issues, and gather photos if it’s safe. Then contact your insurer and a trusted restoration team so you’re not handling it alone.
You’re part of a process that many homeowners face, and the right response now can make the rest of the timeline smoother, faster, and less stressful for your household.
First Steps in the Restoration Timeline
Start by checking for immediate hazards like electrical issues, gas leaks, or structural damage so you can stay safe.
Then contact restoration professionals right away to get expert help moving fast.
As soon as you can, document the visible damage with photos and notes so you’ve got a clear record for repairs and claims.
Assess Immediate Hazards
Before cleanup begins, you need to assess immediate hazards to protect everyone on the property. Look for live wires, gas smells, sagging ceilings, broken glass, standing water, and unstable floors.
If you see smoke, hear hissing, or notice structural shifting, stay out and keep others away. Turn off power or water only if you can do it safely.
Wear sturdy shoes, gloves, and a mask if you must enter briefly. Keep children, pets, and neighbors clear of damaged rooms.
Use a flashlight, not candles, to check dark areas. Mark unsafe spaces and make simple notes about what you see.
Taking these first precautions helps you stay calm, make smart choices, and protect your home team until the next step begins.
Contact Restoration Professionals
Once the area is safe, contact a restoration professional as soon as possible so they can guide your next moves and begin planning the response.
You don’t have to sort everything out alone. A qualified team can explain what needs to happen, help you understand the timeline, and coordinate the right crew and equipment.
Call a company that handles your type of damage, whether it’s water, fire, smoke, or mold. Share a brief description of what happened and ask when they can arrive.
The sooner you reach out, the sooner you can settle in with a plan and feel less overwhelmed. A good restoration partner will keep you informed, answer questions, and help your home start moving back toward normal.
Document Visible Damage
Take photos and videos of the visible damage as soon as it’s safe to do so, because clear documentation can support your insurance claim and help the restoration team understand the full scope of the problem.
Walk through each affected room and capture walls, floors, ceilings, furniture, and personal items from several angles. If you can, record close-ups of water lines, soot, cracks, or missing materials, and note the date and time.
Keep your own list of damaged belongings, including brand names and estimated value. Don’t clean or move anything unless it’s needed for safety, since that can change the evidence.
Share your files with your insurer and restoration team so everyone starts with the same picture. You’re not handling this alone; solid records help your crew protect your home and guide the next steps.
What to Expect During Cleanup and Drying
During cleanup, you’ll see crews remove standing water quickly to help stop further damage.
They’ll bring in structural drying equipment to pull moisture from walls, floors, and other materials.
You can also expect regular moisture checks to make sure everything’s drying properly and safely.
Water Extraction Process
Water removal starts fast, and the goal is to get standing water out as quickly as possible to limit further damage.
Your restoration team will assess the affected rooms, identify the water source, and begin extracting water from floors, carpets, and other surfaces. You’ll usually see wet vacuums, pumps, and hose lines working to clear out moisture in a methodical way.
They may move carefully around your belongings to protect what matters most. During this stage, you can expect noise, movement, and a lot of focused activity. That’s normal.
The team will also check hidden areas where water can collect, so nothing gets overlooked. Once extraction is done, your home is ready for the next phase of drying, and you’re one step closer to getting things back to normal.
Structural Drying Equipment
Once the standing water is gone, your restoration team brings in structural drying equipment to pull hidden moisture out of walls, floors, and other building materials.
You’ll usually see air movers set along baseboards and wet surfaces, plus dehumidifiers working to remove damp air from the space. Together, they help materials dry faster and reduce the chance of lingering damage.
The team may reposition equipment to reach affected areas more effectively, but you won’t need to manage it yourself. Expect some noise and a bit of warmth as the equipment runs.
This phase can feel disruptive, yet it’s a normal step that helps your home recover. With the right setup, you’re not facing the process alone; your restoration crew is working to get things back to normal.
Moisture Monitoring Checks
As the drying equipment runs, your restoration team will check moisture levels in walls, floors, and other materials to make sure the space is drying as expected. These inspections help them catch hidden damp spots before they turn into bigger problems.
You’ll usually see them use meters, thermal tools, and visual checks to track progress. This step keeps you informed and helps your home move forward with confidence.
- They compare current readings to safe drying goals.
- They adjust equipment if moisture lingers in one area.
- They document results so you know what’s happening.
You’re not left guessing during cleanup. Your team should explain findings, answer questions, and let you know when each area is ready for the next step.
How Repairs and Rebuilding Work
Repairs and rebuilding begin after cleanup and drying are complete, when your property is ready for the next phase.
You’ll see crews replace damaged drywall, flooring, insulation, trim, and other materials so your home feels safe and whole again. They’ll match finishes, rebuild affected rooms, and restore what was removed during mitigation.
If structural parts need attention, they’ll strengthen framing and secure surfaces before closing walls. You can stay involved by reviewing plans, approving selections, and asking questions as work moves forward.
Good communication helps you feel confident and included throughout the process. This stage often brings visible progress, and that can be a relief.
Step by step, your home starts looking like yours again, and you’re one step closer to settling back in.
What Can Delay the Timeline
Even with a clear plan, a restoration timeline can slow down if hidden damage shows up, materials are backordered, or permits and inspections take extra time.
You might also run into weather issues, especially when crews need to dry, seal, or rebuild exposed areas. Insurance approvals can add pauses too, since some repairs can’t move forward until claims get reviewed and approved.
To keep stress down, remember that delays don’t mean failure; they’re often part of a careful, safe process that protects your home and your neighborhood of support.
- Hidden structural damage
- Supply or labor shortages
- Permit, inspection, or claim delays
How to Track Progress and Stay Informed
The best way to stay informed during restoration is to ask for a clear schedule and regular updates from your contractor. You should know what’s happening each day, who’s on site, and what the next milestone is.
Ask for photos, written progress notes, and a contact person you can reach quickly. If something changes, request the reason and the new plan so you’re not left guessing.
You can also keep your own checklist of inspections, deliveries, and approvals to compare against the schedule. This helps you spot delays early and ask smart questions.
Staying engaged doesn’t mean micromanaging; it means working as part of the team. When you communicate often, you’ll feel more confident, more connected, and better prepared for each step ahead.
Frequently Asked Questions
How Soon Should I Contact My Insurance Company After Damage?
You should contact your insurance company right away, ideally within 24 hours of noticing damage. You’ll get faster guidance, protect your claim, and feel more supported while you document everything and start repairs.
Can I Stay in My Home During Restoration?
Usually, you can stay if damage’s contained and it’s safe. You’ll need to follow your contractor’s guidance, since some repairs can knock your routine sideways. Stay connected, ask questions, and choose safety first.
What Should I Do With Damaged Belongings?
You should photograph damaged belongings, separate salvageable items, and discard unsafe ones. Then inventory everything, contact your insurer, and ask your restoration team which pieces they can clean or store so you don’t lose more.
Will I Need Temporary Housing During Repairs?
You might need temporary housing during repairs if your home’s unsafe, too damaged, or without utilities. Stay close to your support network, ask your restoration team early, and plan ahead so uncertainty feels manageable, not overwhelming.
How Do I Know if Hidden Damage Still Exists?
You’ll know hidden damage still exists if you notice odors, staining, soft spots, warped surfaces, or recurring leaks. You can also ask for moisture readings, thermal imaging, and a thorough inspection to catch unseen issues.
Conclusion
In the end, your property damage restoration timeline moves fastest when you act quickly and stay in touch with your contractor. You’ll start with safety checks, cleanup, drying, and then repairs once everything is ready. Remember, most homeowners say clear communication reduces stress during restoration, so ask questions and track updates often. With steady progress and good information, you can feel confident as your home moves back toward normal.
Recent Posts
Property Damage Restoration After Storms and Severe Weather
After a storm, property damage restoration starts with safely assessing the property, documenting all visible
How Property Damage Restoration Companies Assess Damage
Before a restoration crew starts work, property damage restoration begins with evaluating hidden hazards, not
Cost of Property Damage Restoration Services Explained
When you face property damage, the restoration cost can shift fast depending on the damage