
Contents
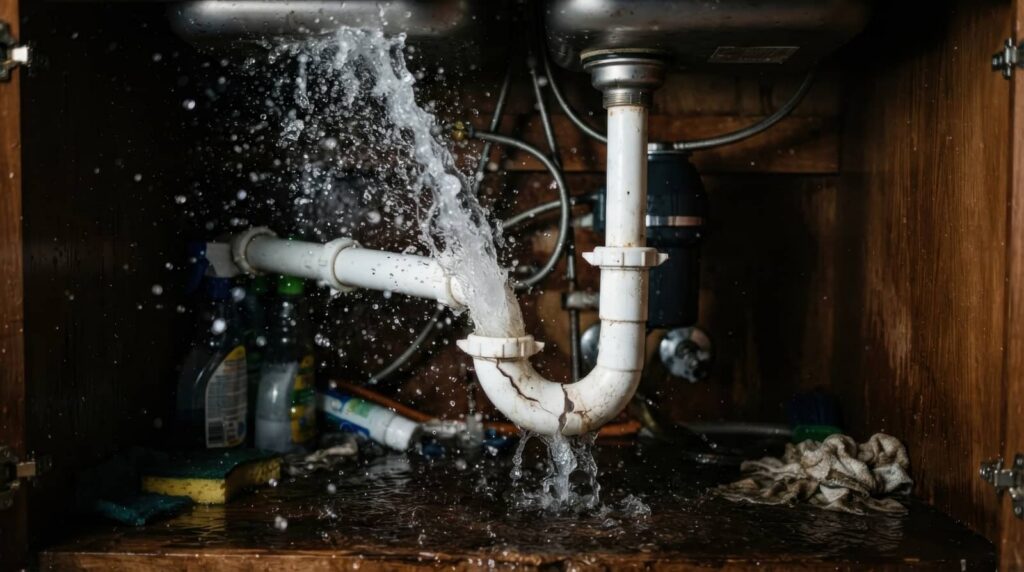
A small pipe leak can trigger a large repair bill, and you need to act fast. You should shut off the water, cut power near the affected area, and remove standing water before it spreads into walls, cabinets, and flooring. Then dry, disinfect, and inspect for hidden mold or damage. What looks manageable now can turn costly later if you miss one critical step.
Key Takeaways
- Shut off the main water supply immediately and call a licensed plumber if the leak cannot be stopped safely.
- Assess water type and safety risks, especially sewage contamination, structural damage, and electrical hazards.
- Remove standing water quickly, then use fans, dehumidifiers, and ventilation to dry affected areas thoroughly.
- Salvage nonporous items and discard soaked drywall, insulation, and other materials that cannot be cleaned safely.
- Disinfect all contacted surfaces after drying, and call professionals for sewage, electrical risk, or lingering moisture.
Stop the Leak and Shut Off the Water
Act quickly to stop the leak and shut off the water supply at the main valve. You protect your home faster when you isolate the source, close fixture valves, and drain remaining pressure from the lines.
If a supply line, toilet, or appliance failed, disconnect power to nearby equipment only after the area is dry enough to handle safely. Keep tools ready, because every minute counts during flood damage cleanup after plumbing leaks.
When you can’t stop the flow, call a licensed plumber immediately and document the damaged area for your repair team. You’re not alone here; prompt action helps your household regain control, reduce spread, and start restoration with confidence.
Once the leak stops, you can move to the next cleanup step.
Assess Water Damage and Safety Risks
You should first identify the water source so you know whether you’re dealing with clean supply water, contaminated sewage, or hidden plumbing runoff.
Then inspect for structural damage signs such as sagging ceilings, warped floors, cracked drywall, or swollen framing that could indicate compromised load paths.
Keep clear of electrical hazard risks, and if water has reached outlets, panels, or appliances, shut off power and treat the area as unsafe until it’s verified dry.
Water Source Check
Start with the water source: identify whether the flooding came from a broken supply line, a leaking fixture, a failed appliance, or a sewage backup, because each one changes the cleanup process and the health risks.
You should shut off the valve or power at the appliance, then inspect the water’s appearance and odor. Clear, clean water usually needs fast drying and disinfection, while gray water calls for protective gear and harder sanitation.
If you suspect sewage, keep everyone out until you can isolate the area and wear proper PPE. Document the source, since your cleanup team needs accurate details to choose the right disinfectant and disposal method.
When you know what you’re dealing with, you can protect your household and join the recovery process with confidence.
Structural Damage Signs
Look for the structural warning signs that tell you flood water has moved beyond surface cleanup. You may see warped baseboards, sagging ceilings, cracked drywall seams, or floors that feel soft, spongy, or uneven underfoot.
Check doorframes and window trim for racking, sticking, or visible separation from the wall, since swelling can shift load paths. If plaster bubbles, trim pulls loose, or subflooring creaks more than usual, treat the area as compromised.
Inspect crawl spaces, basements, and utility rooms for pooled water, rusted fasteners, or insulation that’s collapsed and wet. You’re protecting your home and everyone in it when you stop using visibly distorted spaces and document the damage.
Call a qualified restoration professional if movement, cracking, or deflection keeps progressing.
Electrical Hazard Risks
Even a small plumbing leak can create hidden electrical hazards, so treat any flooded area as energized until proven otherwise.
Shut off power at the main breaker if you can reach it without stepping into water; if not, call your utility or a licensed electrician.
Don’t touch outlets, switches, appliances, or extension cords in wet areas. Water can track behind walls, into ceiling cavities, and along metal framing, so visible drying doesn’t ensure safety.
Use a noncontact voltage tester only after power is isolated, then inspect for scorched devices, tripped breakers, or buzzing panels.
If floodwater contacted wiring, you need professional evaluation before reentry.
Remove Standing Water Fast
You need to extract standing water immediately using pumps, wet vacs, or professional water extraction equipment to limit structural damage.
After removal, you should set up high-velocity fans and dehumidifiers to accelerate drying and control moisture levels.
Proper ventilation helps prevent mold growth and speeds flood damage cleanup.
Water Extraction Methods
Rapid water extraction starts the flood damage cleanup process by removing standing water before it soaks deeper into flooring, drywall, and structural materials.
You’ll usually begin with weighted wet vacs, truck-mounted pumps, or portable submersible extractors, depending on the leak size and access. For carpeted areas, use a water claw or rotary extractor to pull moisture from the pad quickly.
Hard floors need squeegees and pump systems that move water to a controlled drain path. You should work from the outer edges toward the center, keeping foot traffic low so you don’t spread contamination.
A proper extraction plan protects materials, limits structural loading, and helps your cleanup team stay efficient. When you act fast, you’re taking the right first step with the rest of the crew.
Drying And Ventilation
Once standing water is removed, aggressive drying and ventilation help stop moisture from migrating into framing, insulation, and subfloors.
You should place air movers low across wet surfaces so they push moisture toward exits, not deeper into materials. Open windows only when outdoor air is drier than indoor air; otherwise, use dehumidifiers to pull vapor from the room.
In tight spaces, remove baseboards and drill small weep holes to improve airflow behind walls. Check humidity and surface moisture daily with meters, not guesses.
You want dry, stable conditions before reconstruction starts, because hidden dampness can trigger mold and swelling. Team up with your cleanup crew, stay methodical, and keep equipment running until readings confirm the structure’s back in range.
Dry Out Floors, Walls, and Cabinets
After standing water is removed, dry floors, walls, and cabinets immediately to prevent structural damage and mold growth.
You should pull baseboards, open cabinet doors, and expose hidden cavities so air can reach damp materials. Use high-velocity air movers to push moisture off surfaces, and pair them with dehumidifiers to keep indoor humidity low.
Check subfloors, drywall, and cabinet bottoms with a moisture meter until readings return to safe levels. If flooring buckles or drywall stays wet, remove affected sections before decay spreads.
Keep HVAC off unless a pro says it’s safe, since ducts can circulate moisture. By acting fast and staying methodical, you protect your home and join the group of owners who recover cleanly.
Salvage Furniture, Fabrics, and Belongings
Move salvageable items quickly to a clean, dry area so you can stop further water damage and limit mold growth.
Prioritize upholstered furniture, area rugs, books, photos, and electronics only if they stayed above contaminated water and you can dry them safely.
Blot surfaces with clean towels, then lift cushions, open drawers, and separate layers to improve airflow.
Hang fabrics on nonrusting racks, and rotate them often so moisture leaves evenly.
Clean wood with a mild detergent solution and dry it with fans, not heat.
Label each item so your family can track what’s been treated and what still needs attention.
If you work methodically, you’ll protect more of your home’s comfort, memory, and value while keeping the cleanup organized and manageable.
Throw Out Unsalvageable Materials
You should identify materials that can’t be fully dried, cleaned, or structurally restored, including warped framing, swollen particleboard, and mold-damaged finishes.
Remove contaminated drywall promptly, since it can trap moisture and support microbial growth behind the surface.
Dispose of soaked insulation immediately because it loses thermal performance and often holds hidden contamination.
Identify Irreparable Materials
Discard any materials that plumbing floodwater has soaked through and damaged beyond recovery, because porous items can trap moisture, bacteria, and contaminants even after drying.
You should inspect every affected item for swelling, delamination, warping, discoloration, and persistent odors. If a material has lost structural strength, keeps shedding residue, or can’t be cleaned to a safe condition, you need to throw it out.
Prioritize your health and the integrity of your home by removing items that won’t dry uniformly or that hold hidden moisture.
Bag debris promptly, seal it, and move it outside to prevent cross-contamination. When you act decisively, you protect your crew, reduce cleanup time, and set up the next restoration steps with confidence.
Remove Contaminated Drywall
Cut out and remove any drywall that floodwater has saturated, because gypsum board loses strength quickly and can conceal mold growth inside the wall cavity. You’ll protect the rest of your home when you act fast and stay methodical.
Use a utility knife to score clean lines, then pry panels free without shaking dust through the room.
- Mark damage above the visible stain line.
- Cut back to dry, intact material.
- Bag debris immediately to limit spread.
- Wipe framing surfaces before closing the wall.
If you spot swelling, crumbling paper, or a musty odor, keep removing until you reach sound material.
Work with gloves, eye protection, and a respirator, and let your team know you’re ready to rebuild on a clean base.
Dispose of Soaked Insulation
Pull out any insulation that’s been soaked by floodwater, because it can trap moisture, lose its R-value, and hold contaminants against framing and sheathing.
You should bag it immediately and move it out of the work area so the crew can dry the cavity fast. If you leave wet batts or blown-in fill in place, you’ll slow evaporation and invite mold, corrosion, and odor.
Wear gloves, a respirator, and eye protection, then cut insulation free with a utility knife or remove it with a vacuum-rated containment setup.
Check hidden bays, rim joists, and around plumbing penetrations for wet fragments.
Once the cavity is open, you and your team can inspect framing, sanitize surfaces, and rebuild with clean, dry materials that restore the home safely.
Disinfect After Plumbing Leaks
After you remove standing water and dry the affected areas, disinfect all surfaces that came into contact with plumbing leak water to stop bacteria, mold, and odor from spreading.
Use a cleaner labeled for flood cleanup, then apply it exactly as directed so your team keeps the space safe and consistent. Focus on hard surfaces, trim, cabinets, and fixtures, and don’t skip seams or edges.
- Wear gloves and eye protection.
- Mix or dilute the disinfectant correctly.
- Keep surfaces wet for the full dwell time.
- Rinse food-contact areas after treatment.
Work methodically, replacing cloths or mops as they soil. This disciplined approach helps your home recover faster and keeps everyone who lives there confident.
Check for Mold and Hidden Damage
Even when the visible water is gone, you still need to check for mold and hidden damage in walls, flooring, insulation, and cabinets.
Inspect baseboards, drywall seams, underlayment, and cabinet backs for staining, swelling, soft spots, or a musty odor. Use a flashlight and probe any area that feels spongy or sounds hollow, because moisture can stay trapped long after surfaces dry.
If you find dark spotting, peeling paint, or warped materials, treat those spaces as compromised. Don’t ignore nearby rooms, since moisture can migrate through shared framing and trim.
Keep the area ventilated and monitor it over the next few days for new discoloration or odor. Careful checking protects your home and helps you stay confident that the cleanup really reached every affected space.
Know When to Call a Water Damage Pro
If you’ve found mold, warped materials, or moisture that keeps reappearing, it’s time to call a water damage pro. You don’t need to guess when the problem’s beyond a basic cleanup.
Professionals bring moisture meters, thermal imaging, and drying equipment that find what you can’t see and stop further deterioration.
- Call immediately after sewage exposure or electrical risk.
- Call if water has sat for more than 24 hours.
- Call when walls, subfloors, or insulation feel soft.
- Call when odors, stains, or swelling return after drying.
A qualified team documents damage, isolates affected areas, and restores your space with the right protocol.
That means you’re not facing the mess alone—you’re getting expert support from people who do this every day.
Prevent Future Plumbing Floods
To reduce the risk of future plumbing floods, inspect your supply lines, shutoff valves, and appliance hoses regularly so small failures don’t turn into major water damage.
You should replace brittle hoses, tighten loose fittings, and test each valve until it closes fully. Keep drains clear, maintain water pressure within the manufacturer’s range, and insulate exposed pipes before freezing weather arrives.
Add leak sensors near water heaters, sinks, and laundry equipment so you can act fast. After any repair, verify joints stay dry under normal use.
When you follow these habits, you protect your home and join other prepared homeowners who value reliable systems. A little routine maintenance now can spare you costly cleanup, disruptive repairs, and stress later.
Frequently Asked Questions
How Long Does Plumbing Flood Cleanup Usually Take?
You’ll usually need one to seven days for plumbing flood cleanup, depending on water volume, materials affected, and drying time. You can speed recovery by removing water fast, dehumidifying, and monitoring moisture levels closely.
Will My Homeowner’s Insurance Cover Leak-Related Water Damage?
Usually, yes—if you’ve got sudden, accidental leakage, but not gradual wear. You’ll need quick documentation, mitigation, and policy review; coverage can surprise you, so act fast, protect your home, and claim what’s yours.
Can I Stay in My House During the Cleanup Process?
You can stay, but you’ll need to vacate affected rooms if crews use drying equipment, chemicals, or remove contaminated materials. Your contractor should assess air quality, electrical safety, and moisture levels before you decide.
How Much Does Professional Flood Cleanup Typically Cost?
You’ll usually pay $1,500 to $7,000, depending on water depth, affected materials, and drying needs. You should get a licensed inspection, since fast action lowers costs and helps you protect your home.
What Should I Document for Insurance Claims After a Leak?
You should document the leak source, date, photos, damaged items, repair receipts, and mitigation steps. For example, if your ceiling stains, capture wide and close shots, then log every expense and conversation for your insurer.
Conclusion
In flood damage cleanup after plumbing leaks, you need to act fast, stay safe, and follow each step in order. Shut off the water, remove standing water, dry affected areas, and disinfect surfaces before hidden damage spreads. Save what you can, and discard what you can’t restore. As the saying goes, a stitch in time saves nine. If you spot mold, sewage, or structural damage, call a water damage pro right away.
Recent Posts
When to Call Property Damage Restoration Services
You should call property damage restoration services as soon as you notice water stains, smoke
Property Damage Restoration Timeline for Homeowners
Some homeowners file a property damage claim at some point, and your timeline can move
Property Damage Restoration After Storms and Severe Weather
After a storm, property damage restoration starts with safely assessing the property, documenting all visible