Contents
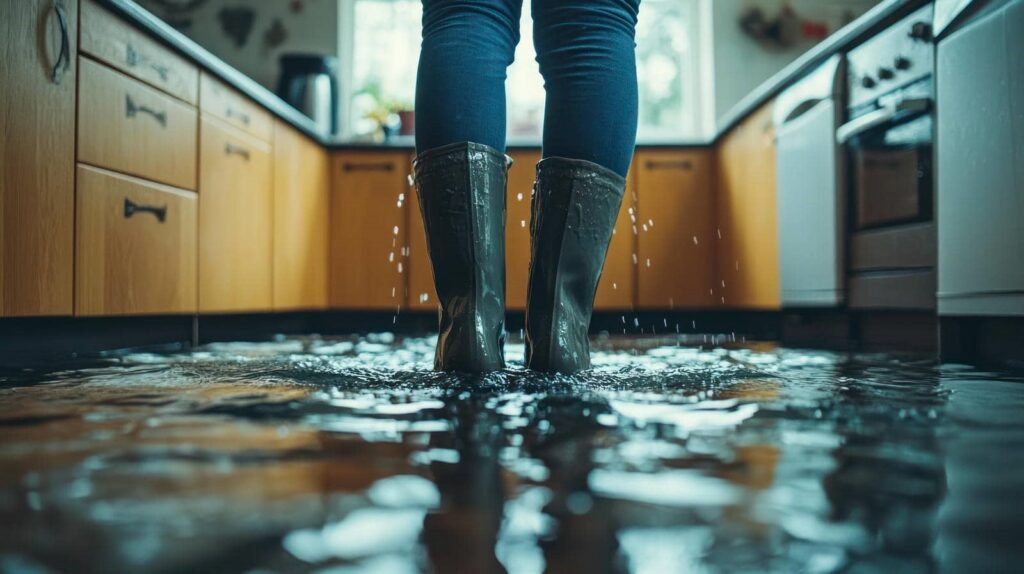
A burst washing machine hose can soak a room in minutes, so you need to move fast. You shut off the water, find the source, and pull standing water out before it spreads. Then you dry the structure, clean the surfaces, and document every affected area. If you skip a step, hidden moisture can turn into mold or structural damage, and that’s where the next decisions get critical.
Key Takeaways
- Shut off the water source immediately and avoid standing water near outlets or energized equipment.
- Find the leak source by checking supply lines, valves, fixtures, and visible pipe runs for fresh drips or wet spots.
- Remove standing water quickly with pumps or wet vacs, then dry the area using fans and dehumidifiers.
- Photograph damage, record key details, and keep all notes and documents organized for restoration and insurance.
- Contact a certified water damage restoration company fast for assessment, stabilization, and professional drying guidance.
Stop the Water Safely
Before you start cleanup, shut off the water source safely to stop additional damage. You’re taking the first of the emergency water damage cleanup steps, and your team can move faster once the flow stops.
If you can reach the fixture valve without risk, turn it clockwise until it’s fully closed. If the water keeps running, use the main shutoff and confirm pressure drops.
Keep clear of standing water near outlets or energized equipment. Wear gloves and closed-toe shoes so you stay protected while you work.
Alert everyone in the home to avoid the affected area, and tell them not to restore water until the system is checked. Acting quickly limits spread, protects shared spaces, and sets up the rest of the response.
Locate the Leak Source
Once the water is shut off, you need to find the leak source fast so you can prevent more damage and target the repair.
Check supply lines, shutoff valves, supply fittings, and appliance connections first.
Then inspect visible pipe runs, fixtures, and the ceiling below bathrooms or laundry areas for fresh drips, staining, or bulging materials.
If you smell moisture but can’t see it, listen for hissing and watch for active wet spots around joints, traps, and hose bibs.
Trace the water path upstream, since gravity can move it far from the failure point.
Mark the suspected source and keep the area accessible for your restoration team.
When you work methodically, you protect your home and stay aligned with the pros.
Remove Standing Water Quickly
Bail out standing water as soon as you can to limit absorption, swelling, and microbial growth. You should use pumps, wet vacuums, buckets, or squeegees, depending on the depth and access.
Shut off electricity to affected zones before you enter any pooled water, and wear gloves and boots if contamination is possible. Work from the lowest point toward exits so you don’t trap water behind obstacles.
Remove soaked rugs, loose furnishings, and drainable items only if you can do so safely; the faster you clear the floor, the faster your crew can stabilize the space.
Check concealed areas, like under cabinets and around baseboards, because hidden water keeps damage active.
When you act quickly and methodically, you protect your home and join the rest of the team in controlling the emergency.
Dry the Affected Areas
After you remove standing water, dry the affected areas immediately with dehumidifiers and fans to speed moisture removal.
You should maximize airflow and ventilation to reduce humidity and support faster evaporation.
Check for hidden dampness behind walls, under flooring, and inside cavities so you don’t leave residual moisture behind.
Rapid Moisture Removal
Rapid moisture removal starts immediately after standing water is extracted, because damp materials can keep absorbing water and worsen the damage.
You should blot surfaces, lift rugs, and remove wet fabrics, cushions, and small furnishings that trap moisture. Use clean towels, absorbent pads, and low-lint cloths to draw water from floors, baseboards, and trim.
Open drawers, cabinets, and closet doors so hidden areas dry faster. Check porous items like drywall, insulation, and carpet padding; if they stay saturated, you may need to discard them.
Keep monitoring with a moisture meter so you know when materials reach safe levels. When you act quickly and stay methodical, you protect your home and join the many homeowners who stop damage before it spreads.
Airflow and Ventilation
Once standing water and excess moisture are removed, you need to move dry air across the affected areas to speed evaporation. Set up high-velocity fans to create continuous airflow over floors, walls, and baseboards.
Open windows only when outdoor air is drier than indoor air; otherwise, keep the space sealed and controlled. Run dehumidifiers at the same time to pull vapor from the air and keep drying efficient.
Space equipment so each unit supports the others without dead zones. Remove wet rugs, cushions, and loose items so air can reach surfaces evenly.
You should monitor drying progress each day and adjust fan direction as the room changes. When you use this method consistently, you help your home dry faster, reduce further damage, and stay in control of the cleanup.
Hidden Dampness Checks
Even when surfaces feel dry, you still need to check for hidden dampness inside walls, under flooring, and behind baseboards. Use a moisture meter to compare readings on damaged and unaffected areas.
If you see swelling, musty odor, discoloration, or soft drywall, keep drying and open access points for inspection. Pull back carpet edges and pad, then check subfloors for trapped moisture.
Remove baseboards only when needed, and watch insulation around wall cavities. You’re part of the cleanup team now, so document readings and track progress before you close anything up.
Drying stops when materials return to safe moisture levels, not when they look normal. If readings stay high, call a restoration professional to prevent mold, structural damage, and repeat loss.
Clean and Disinfect to Prevent Mold
Disinfect all wet surfaces, affected materials, and salvageable belongings as soon as they’re dry enough to handle.
Use a EPA-registered antimicrobial cleaner on hard, nonporous areas, then scrub every seam, corner, and crevice where spores can settle.
For porous items, clean only if they’re still structurally sound; otherwise, remove them.
Wear gloves, eye protection, and an N95 respirator so you stay safe while you work alongside your team at home.
Rinse residue when the product label requires it, then dry the area completely with fans and dehumidifiers.
Don’t mix chemicals, and don’t leave moisture trapped under furniture, trim, or baseboards.
A clean, dry space helps your household regain control faster and lowers the chance that mold returns after the cleanup is finished.
Document Damage and Call Professionals
Photograph all affected areas before you move or discard anything, and capture wide shots plus close-ups for context.
Record damage details in a log that notes the room, materials impacted, water source, and time discovered.
Then contact restoration experts immediately so they can assess the loss, stabilize the property, and begin mitigation.
Photograph All Affected Areas
Before you move materials or start cleanup, document every affected area with clear photos and video.
You’ll want wide shots that show the full room, then close-ups of wet flooring, stained drywall, warped baseboards, and damaged belongings. Capture each angle in good light, and keep the camera steady so details stay sharp.
If water reached multiple rooms, record each space separately so the scope stays obvious. These images help your remediation team assess losses fast and support your claim if you file one.
Save the files in one folder and back them up right away. When you work this way, you stay organized, protect your property, and give your crew the evidence they need to respond with confidence.
Record Damage Details
Once you’ve captured photos and video, record the damage in writing so you can give your restoration team precise details.
Note the date, time, source of water, affected rooms, visible staining, warped materials, odors, and any electrical or structural concerns.
List what’s wet, what’s saturated, and what you already moved or shut off. Include appliance model numbers, pipe locations, and the approximate spread of the water line.
Keep your notes factual and organized, using short bullet points or a simple checklist.
This record helps you speak clearly with the professionals who’ll step in next and keeps your household aligned on what happened.
Store everything in one folder, digital or paper, so you can share it fast when needed.
Contact Restoration Experts
Reach out to a water damage restoration company as soon as you’ve documented the loss, because rapid response limits further deterioration.
You should call a certified team that can assess moisture levels, structural impact, and contamination risk. Give them your photos, notes, and the source of the leak so they can plan extraction, drying, and sanitation fast.
When you act quickly, you join a coordinated response that protects your home and speeds recovery. Ask whether they use thermal imaging, dehumidifiers, air movers, and antimicrobial treatments.
Confirm emergency availability, insurance coordination, and estimated arrival time. Stay on site if it’s safe, and keep access clear for technicians.
Trust trained professionals to stabilize the space and guide your next steps with precision and confidence.
Frequently Asked Questions
How Quickly Should I Act After Discovering Water Damage?
You should act immediately, ideally within minutes, because moisture spreads fast, weakens materials, and raises mold risk. Shut off the source, remove standing water, and start drying right away to protect your home and belongings.
What Items Should I Save Before Cleanup Starts?
You should save valuables, photos, documents, medications, electronics, and sentimental items first. Move dry, undamaged furniture and clothing next. Protect anything porous only if you can lift it safely before cleanup starts.
Is It Safe to Use Electricity in a Flooded Room?
No—electricity and floodwater don’t mix like oil and water. You should shut off power at the breaker, avoid outlets and appliances, and wait for a qualified electrician to clear the room before you enter.
How Do I Know if Hidden Moisture Remains?
You’ll know hidden moisture remains when materials feel cool, damp, or warped, odors persist, or a moisture meter reads elevated. Check baseboards, cavities, and subfloors; if readings stay high, keep drying and inspect again.
When Should I Replace Damaged Drywall or Flooring?
Replace damaged drywall or flooring when it’s warped, soft, moldy, or still reads wet after drying; you shouldn’t gamble. You’ll protect your home’s backbone and stay with others who restore fast, safe spaces.
Recap
When water damage hits, speed matters. Stop the water safely, find the source, and get standing water out fast. Dry the area thoroughly, then clean and disinfect it to reduce mold risk. Photograph everything and call certified restoration professionals for a proper assessment. The old theory that “a little water dries on its own” is false; hidden moisture can cause major structural and health problems, so you’ve got to act immediately.
Recent Posts
Fire Damage Restoration Timeline for Homes
A house fire can turn a normal day into a long recovery in minutes. You’ll
What Homeowners Should Do After a House Fire
If a house fire leaves smoke damage through your hallway, you need to act in
5 Ways Soot Damage Can Affect Your Home
Soot damage can do more than leave dark stains on your walls. It can corrode